Airbrushing
Airbrushing is a very cool way to accomplish a few tricky tasks. Whether you're trying to get a smooth basecoat or handle complex shading it's a useful tool to have at your disposal.
Equipment
The first question is, of course, what type of airbrush to get, and what other tools do you need? Follow this link for more information on the equipment being used.
Mixing Paint
Almost any paints can be used in an airbrush. What's important is making sure that they're thin enough to go through the brush without clogging it up. Paint that is not thinned enough will partially dry inside the brush, blocking the airfeed and preventing you from working.
I actually recommend using the same line of paints for airbrushing as you use for painting models. I mostly use Citadel paints, but have some Vallejo as well. The important thing is that they're designed to be thinned with water, which means that you can thin them with water for airbrushing, and you can use water for cleaning them up. They're also non-toxic, so you don't need additional expensive equipment to clear out the fumes (although I do recommend wearing a nose&mouth dust mask, because non-toxic or not, I'm not sure it's good to coat the inside of your lungs with acrylic paint.) The other advantage to using the same paint line for airbrushing as traditional painting is that the colours will match if you have to touch anything up.
Thinning paints is easy. You take some paint, put it into the paint holder that you're using, and then add water. For most citadel paints, you want about a 50/50 mix of water to paint, and maybe as much as 60% water. Err on the side of too watery, as you can always apply more thin coats, while too thick will cause problems. I have a separate set of paints that I use in the airbrush because when I'm done with a colour, I pour the remainder back into the bottle. (And this is one of the main reasons I airbrush with Citadel paints instead of Vallejo, because it's hard to pour paint back into those medicine droppers.) After a while, you'll get a feel for how watery the paint needs to be.
Projects
The first project to attempt is simply to basecoat vehicles. If you've ever used a spray can to do this, you'll quickly see how much more control you get with the airbrush. And you'll appreciate how much faster it is than traditional painting, while yielding a much smoother coat of paint. And, over a black basecoat, you'll notice that, unlike a spraycan, the airbrush is subtle enough to leave some natural looking shading.
Compare the following two models. The first was given its red basecoat with
a spray can of Citadel Blood Red. The second was airbrushed with Citadel
Red Gore. Notice the added depth on the second model. The spray can coats,
but the model doesn't look nearly as good.
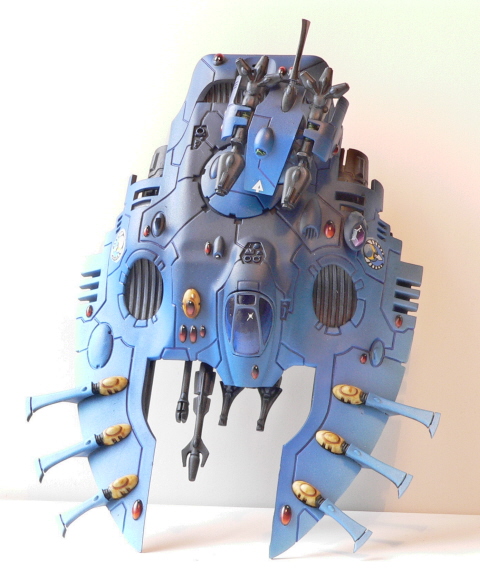
Even colours known for being tricky are easy with an airbrush. Below are
a couple of models that show how well it works with red, yellow, and even
metallics.
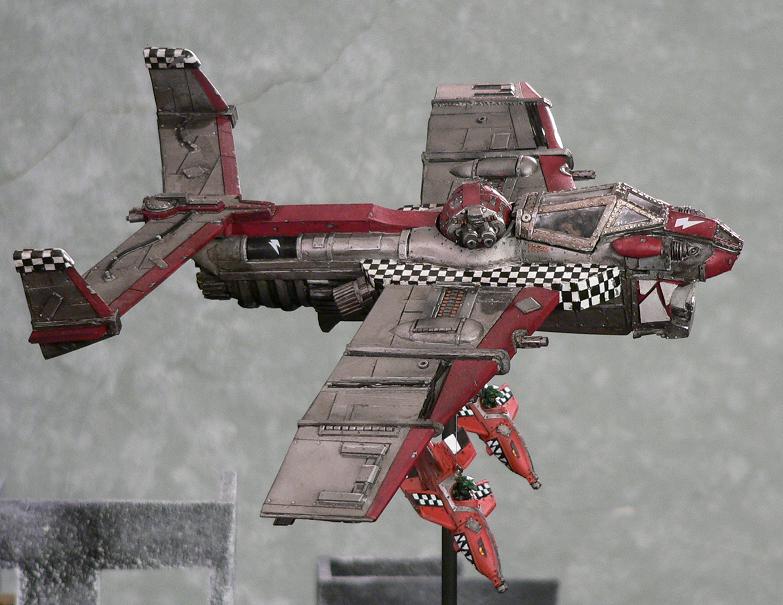
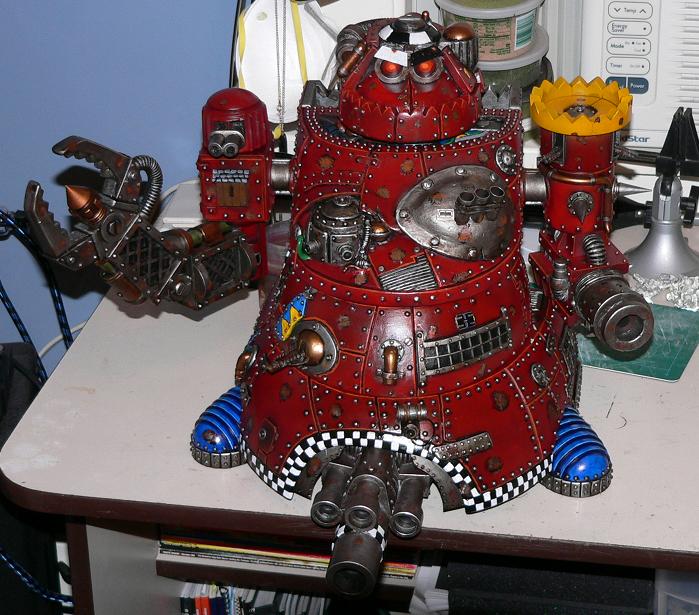
The gargant shows how easy and smooth you can get both red and yellow
(the turret), while the frame of the bomber shows the results of airbrushing
with Citadel's Boltgun Metal. Note the subtle details on the wings are not
only still visible, but stand out due to the natural shading effect that you
can achieve quite easily with an airbrush.
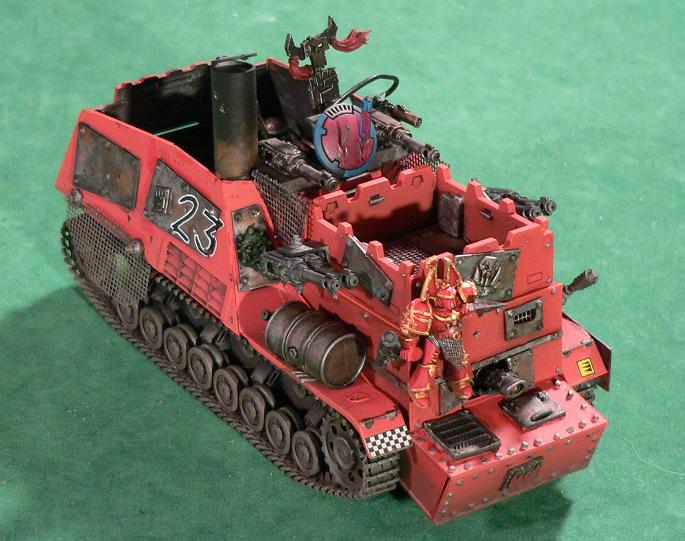
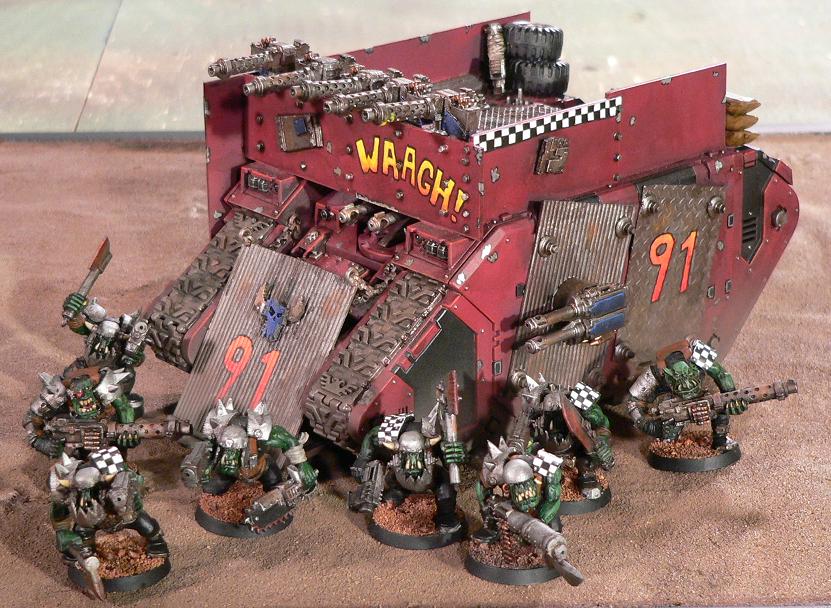
Weathering
After you have the basics of getting a solid colour, you can start to
add additional techniques. One of the quickest and easiest uses is for
weathering vehicles. Using a couple of browns, spray the bottoms of your
tanks. Easy. On the gunwagon below, I used scorched brown first, along
the very bottom, and then desert yellow higher up. The orks look like they've
been spending time in the ash wastes of Armageddon, and the thin layer of
ashen dust is apparent on their tanks.
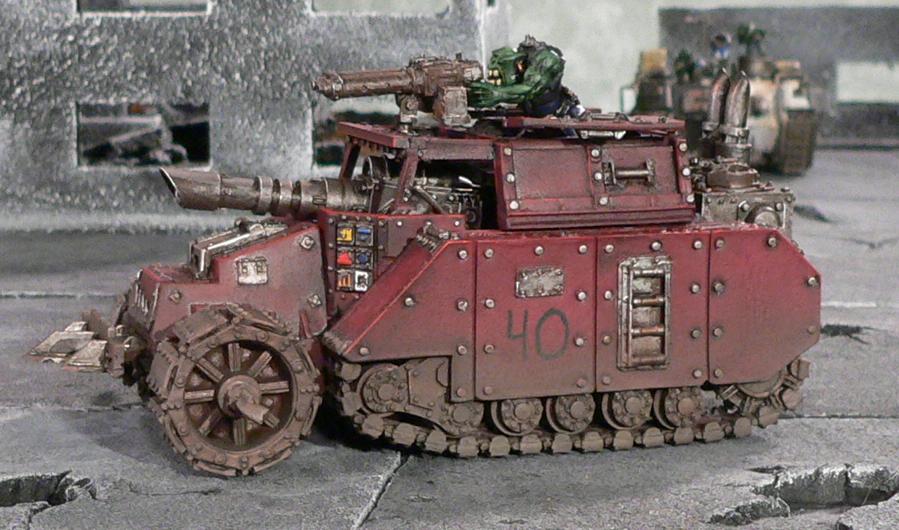
One way to get a natural, difuse effect is to use an indirect spray. If you place your model on the table, do not aim the airbrush at the model, aim at the table just below where the model sits. The airbrush will hit the table directly, but some paint will also hit the vehicle in a more natural fashion, landing more on the raised surfaces.
Blending
It's this aspect that makes the airbrush good for blending too. The spray
from the brush comes out in a cone shape, not a line, where the center of
the cone gets the most paint, and the edges of the cone get the least.
By holding your brush at an angle, you can control how much of a colour you
hit the model with. Other than the tool, airbrush blending works like
traditional blending; you build from the darkest colour up to the lightest.
Below are a couple of models that demonstrate the blending technique.
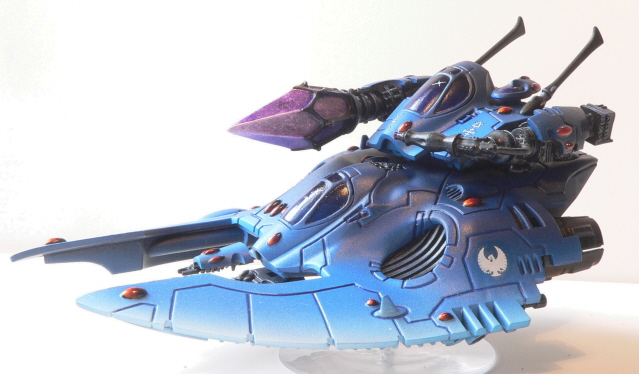
Masking
Masking is simply the use of something to prevent paint from being applied where you don't want it. It can be used to protect parts of a model that you've already done from getting painted over, or as an artistic tool in its own right. You can use masking tape specifically designed for use on models. It comes in various widths and I haven't had any problem with it leaving a residue on my models.
On the Phoenix, I painted a few areas of the model orange, and then masked
over them. I proceeded to do a blue blend over the entire model, and then
removed the masking tape. The result is a very striking orange stripe
over the blue aircraft.
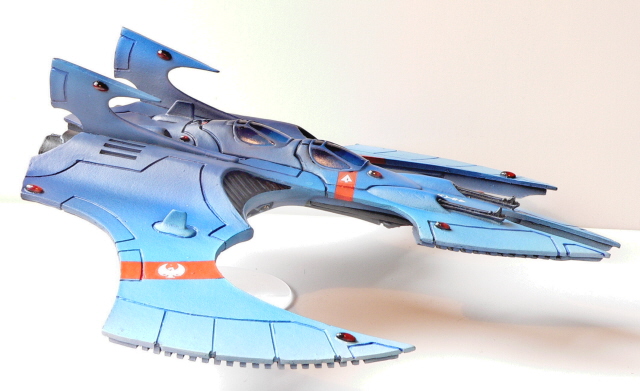
On this Harlequin falcon I primed the model black, and then airbrushed the
top white. I then then laid down strips of masking tape vertically across
the body of the tank, leaving a thin line unmasked between each strip.
I then airbrushed it black, and then removed the tape. I then laid down
the same width tape, this time diagonally across the model, and again with thin
gaps between the tape. Another quick black airbrushing, and then the tape
came off leaving identically sized white diamonds separated by the thin black
lines that had been left between the masking tape. It's a bit extreme, but
I likes it and was playing with the technique (and no one ever asks me which
tank the harlequins are riding in). The white diamonds were filled in by hand.
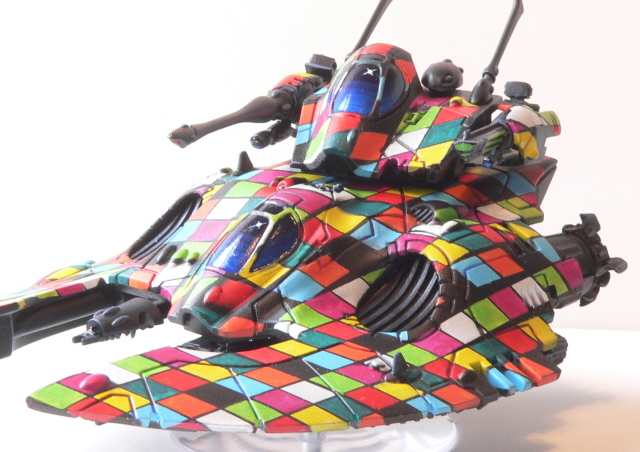
The symbol on the top of this tank was accomplished with a stencil. I cut
the symbol out of plasticard and used the hole as a stencil, which was placed
over the top doors and the airbrushed white. (And then filled in by hand).
This made it easy to repeat on a number of tanks.
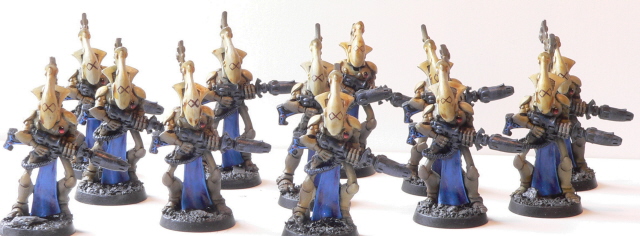
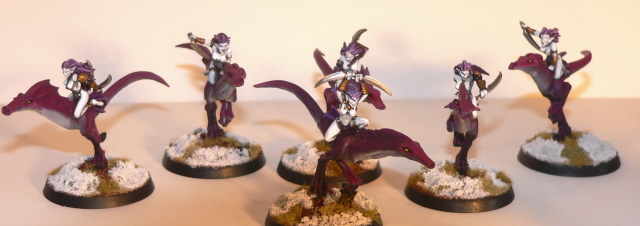
Airbrushing non-vehicles
Airbrushing is not limited to vehicles. There are a number of miniatures that
can benefit from airbrushing as a basecoat. Anything that's numerous, and that has
more flat surfaces than details is a good candidate. The wraithguard, below,
were airbrushed with scorched brown and bleached bone. The mounted daemonette's
steeds were airbrushed too, With warlock purple and white underbellies and
then I hand-painted the riders. If you do this, make sure you re-black
everything that got incidental paint on it, so that your colours are true.
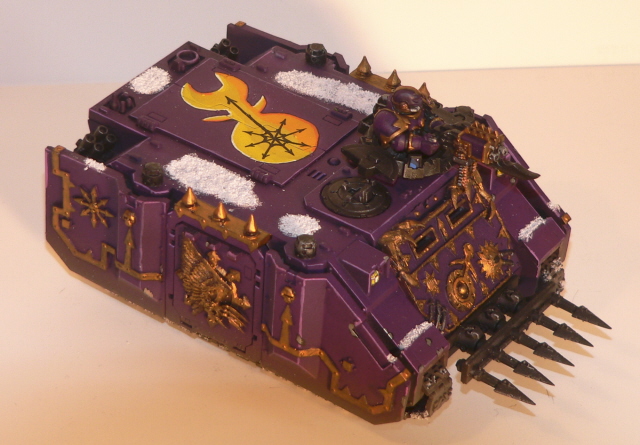
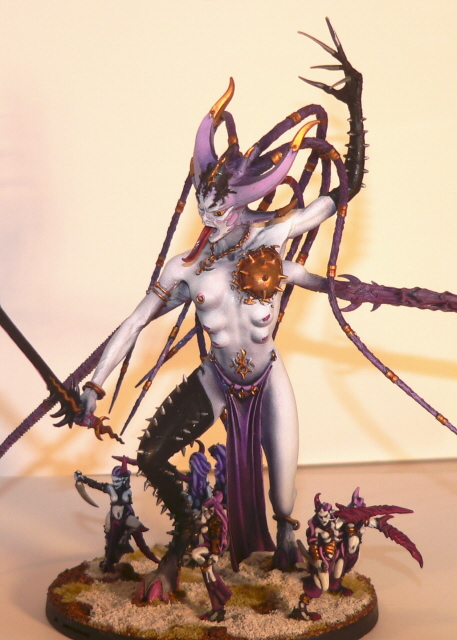
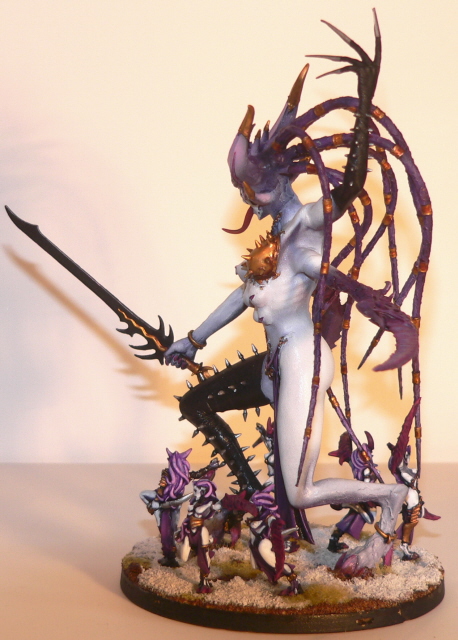
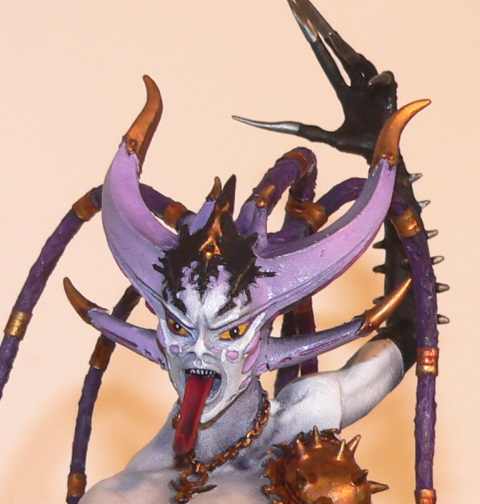
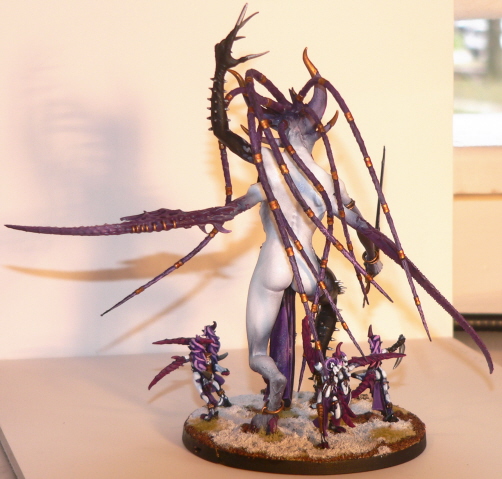
Putting it all together
I'm by no means an expert, I'm just willing to experiment until I find
how to make things look the way I want them to. The Keeper of Secrets
below used all the techniques mentioned above. She was first primed
black, and then her skin was airbrushed liche purple. I blended the skin
up with codex grey, fortress grey, and finally skull white. Tentacle
pink was used for the horns. The trick with a model like this is that
you have to mask a lot. For example, you don't want overspray from the
pink horns to get on the finished arms. The detail work is then reblacked and
painted by hand.
Thanks for reading, hope you learned something. Feel free to email me if you have questions or comments. (alex[at]kallend[dot]net)